Thanksgiving 2016 is going to be unlike other Thanksgiving Day celebrations we’ve seen: namely thanks to the post-presidential election results. No matter which side people think should have won, everybody loses. Why? Because with a closely contested election such as this one, post-election family squabbles are all but certain in households across the country. If you’re like me and have a family quite divided in their beliefs, then you’re in search of a Thanksgiving Day miracle. What makes everyone happy and maybe even a little lethargic? Good food and booze. Who cares if your uncle says the results were rigged? You’ll be too happy scarfing down the pile of gravied mashed potatoes on your plate (well, at least I’ll be)!
But this year is also going to be a little different because you’re a first-time host. You want to keep the bickering low and good spirits high, and the turkey dinner is only one part of that equation. How can you keep your family distracted for long enough that they’ll forget about their squabbles and grudges? With sweets, drinks and a little showmanship.

The Candied Cornucopia
While there are sure to be delicious, homemade desserts to enjoy after the Thanksgiving dinner, there’s absolutely nothing wrong with plying your relatives with candy before dinner; we all make extra room for food during the holidays. Kitschy and a bit of a throwback, a candied cornucopia will remind your loved ones of simpler times, it might even get your dad and uncle to speak more than two words to each other
Materials Needed:
- Ice cream cones
- Reese’s pieces
- M&Ms
- Candy corn
- Pencil
- Maroon ribbon
- Small, clean plastic basket bags
Directions:
Step 1: Dip the pointed tip of the ice cream cone in a cup of water. Sprinkle droplets of water into the interior of the tip. Do not soak the tip.
Step 2: Microwave each cone separately for 30 seconds. Pull out the cone and wrap the tip around a pencil (or pen), making a curl. Repeat Steps 1 and 2 for each cone.
Step 3: After the cone has completely dried, add the Reese’s pieces, M&Ms and candy corn.
Step 4: Wrap each candied cornucopia in basket plastic wrap. Tie the cones with ribbon.
Step 5: After the dining table has been set, place the candied cornucopias in the center of each plate on the table, or have them sitting inside a large weaved cornucopia basket on the hors d’oeuvre table!
The “Turkey Leg”
You know what’s fun about Thanksgiving crafts? Being able to play on Thanksgiving themes, like the turkey. Thanksgiving is all about that turkey! (It’s about family, too, but come on, we’re all there for the food.) So, to get the youngsters in on the turkey day fun, have them help you make turkey leg goodie bags after watching this great DIY video.
Materials Needed:
- Brown paper lunch bags
- 8 ½ X 11 white printer paper
- Hershey’s mini chocolate bars (milk chocolate, dark chocolate, white chocolate)
- Scissors
- Ruler
- Pencil
- Scotch tape
Directions:
Step 1: With your ruler, mark 3 in. length-wise on a sheet of the white printer paper. Cut out the desired number of 3-in. strips.
Step 2: Using your ruler again, mark 4 in. at the top of the brown bag. Cut the bag at the 4-in. measurement. Repeat this process with your desired number of bags.
Step 3: Open the bag. Insert your fist in the bag. Using your other hand, crumple the end of the bag along your closed fist. Remove your fist. Fill the bag with the mini chocolate bars.
Step 4: After you have filled the bag with candy, start forming the “bone” of the leg with the open bag. Twist the top of the open bag to close it. Crunch (without smooshing the candy) the bottom of the bag and try and give it a rounded shape.
Step 5: Tape the twisted top of the bag to maintain its shape.
Step 6: Take the 3-in. strip and fold it in half. With your scissors, cut halfway up the folded strip on its folded edge.
Step 7: Take the pencil and curl the folded, cut 3-in. strip around it.
Step 8: Wrap the curled strip and the top of the turkey leg. Tape the frill to the leg.
Step 9: Have the kids pass out the legs when dinner is ready!

A Mug of Hot Cider
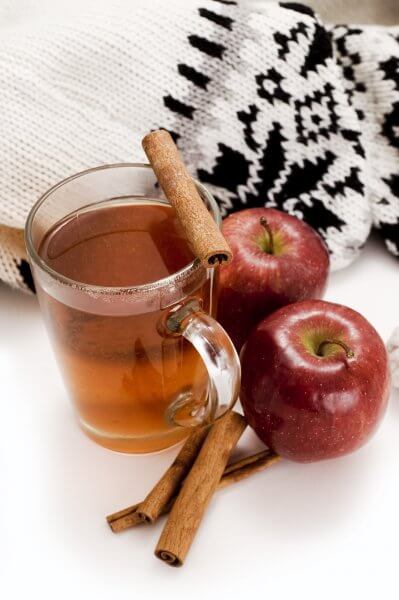
Your guests are going to need to wash all of that good food down with a delicious beverage, and what can be better than hot cider, especially from your very own mug? Gift your guests with a personalized mug that they can take home and use all year round!
Materials Needed:
- White porcelain mug
- Glass paint, assorted colors
- Stencils (OPTIONAL: Leaves, feathers, letters)
- Paint brush
- Tape
- Palette
Directions:
Step 1: Wash the surface of the mug. Dry with a towel.
Step 2: Tape the stencil to the mug.
Step 3: Squirt the desired paints onto the palette. Dip the paintbrush in the paint and begin filling in the stencil.
Step 4: Preheat the oven at 350 degrees. Bake for 45 minutes. Remove the mug and let cool.
Step 5: Fill the mugs with the desired coffee or hot cider for your guests at dessert time. Tell them the mugs are a thank you for attending the festivities!
There is much crafting fun to be had at Thanksgiving, you just have to know what to do!

