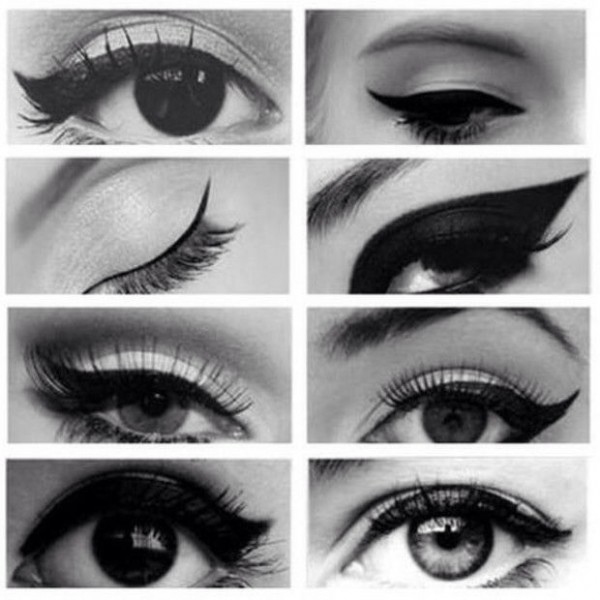
Photo courtesy of: Trusper.com
Honestly, I am all thumbs when it comes to lining my eyes. Once in a while I get it “right” but, most of the time either the left eye is different than the right, or it looks like a 3-year-old got into a black permanent marker and made a mess. Today, I defer to the specialists at Trusper for step by step instructions.
First things first, get your products out. Trusper used Inglot Cosmetics AMC Eyeliner Gel in 77 and the Chikuhodo GSN-12 Brush.
STEP 1
Dip your brush in eyeliner and gently drag it along the lash line and past the top outer corner of your eye. You want the brush to follow the upward curve of your eye. For a more dramatic winged look, draw farther out and angle the liner slightly more.
STEP 2
Next, you want to create the winged effect. Place the brush at the outer corner of the line you just drew and work back toward the center of your eye, filling it in using light strokes.
STEP 3
As you get closer to the inner lash line, paint a thinner line. You want the effect of the liner to be thin to thick from the inner corner of the eye to the outer.
STEP 4
Connect the liner to the inner corner of your eye and fill in any missing spaces along the lash line.
STEP 5
Repeat steps 2 to 5 on your other eye and voilà, you’ve completed your winged eye!
There’s something about a simple winged eyeliner look that looks good on everyone. The extra flick of liner has been done since the ’50s and still adds that perfect dose of glamour needed to spruce any eye look up. It’s surprisingly easy to create, and you could use any eyeliner formula—from liquids, gels, and creams. LA-based makeup artist Jason Sanchez suggests using an angled brush and gel formula because, “the combination of products give you a lot of control and fluidity.” Sanchez breaks down each step for us, so grab your tools and follow along! Looking for more on winged eyeliner?

