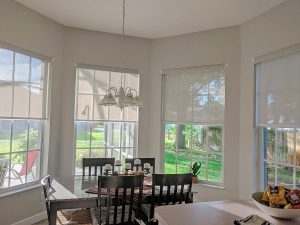
I received these DIY Easy Blinds to facilitate this post. All opinions are strictly my own.
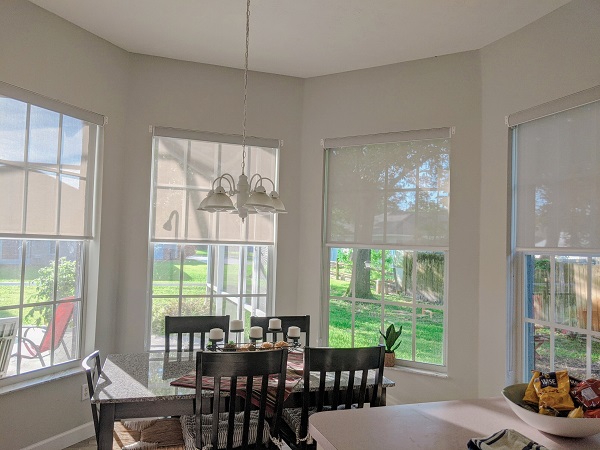
When I redo a room I look at what will make the biggest impact, offer the most change, and what will create the look that I want WITHOUT having to start from scratch. Gutting and remodeling are NOT in my budget at the moment, and even if it were, knowing that a little creativity and a couple of dollars will give me JUST what I want is so much more rewarding.
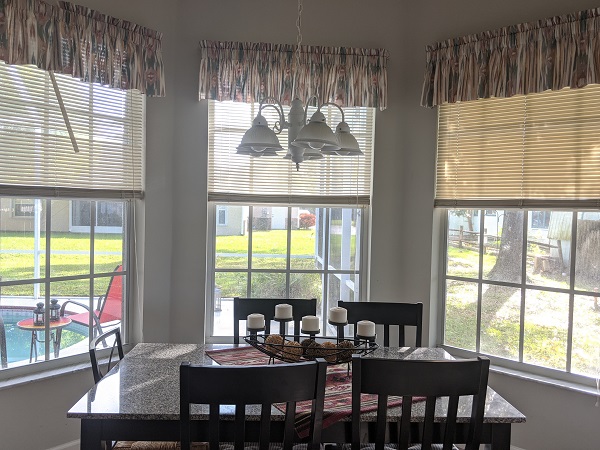
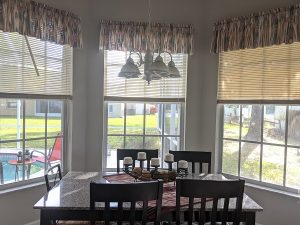
Before – Where were you in ’82?
Since moving in
The only thing we’ve done in the kitchen nook was painting and pulling the carpet and putting new flooring down. We were living with the previous owner’s valances. The kitchen set I’ve had for what feels like forever (but, I like it…so it’s staying). It was just time to do something and I realized that the biggest impact would be from taking down the valances from the 1980s and letting more light in.
DIY Easy Blinds
After talking with a friend and looking through what they offer, I knew that DIY Easy Blinds had just what I wanted. They offer
- Blackout Shades
- Cordless Blinds made of long-lasting faux wood
- Roller Shades
- Zebra Shades
After seeing the beautiful modern roller shades at my son’s house, I knew these are what I wanted. But my choice didn’t just stop there. I knew that I wanted something that would keep the neighbors from looking in, yet allowed some light to come through.
The process of choosing
DIY Easy Blinds holds your digital hand as you choose what you’d like. They begin with what room you’ll be installing them in, give you mounting options (inside or out), and walk you through measuring your windows. MEASURING CORRECTLY IS IMPORTANT BECAUSE THEY ARE MADE TO ORDER!
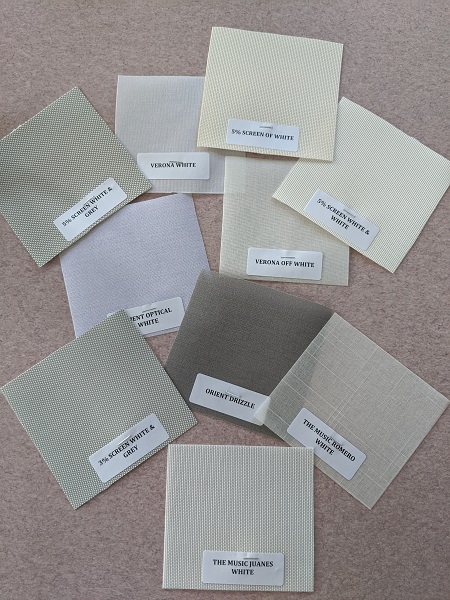
The most difficult part (for me)
I had 64 fabrics and colors to choose from with the roller blinds (and I agonize over decisions like this). I narrowed it down to colors because with gray walls, white trim, and marble sills I wanted something between white and gray, narrowing my choices down to 30+. Thankfully, so many of you helped me choose via Facebook Live. I made the commitment to go with whatever color and fabric you chose and am I happy that I did.
Next, I chose my lift control
I have stainless steel accents in my kitchen. I had the option of a white beaded chain, stainless or motorized. The cool thing about the motorized lift is that it is compatible with Alexa or Google and you can choose the motor that you’d like as well. I wanted my pull on the left, since my old blinds had that and I’m conditioned to go to the left to lift them, and just like my toilet paper roll it was important for me to have the shades roll from the back of the roll (for you rebels, you can also choose a reverse roll from the front).
I am determined NOT to put up any curtains or valances, so I wanted a fabric rounded front cassette for a more finished look. If you’re just putting it under curtains, you can opt for no valance, and there is also a flat more tailored valance. The final choice was the bottom bar and I was ready to order.
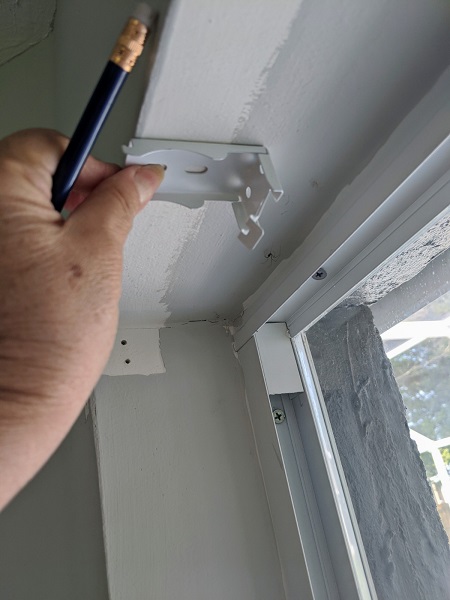
Measure & mark the holes of the clips
Installing the Shades
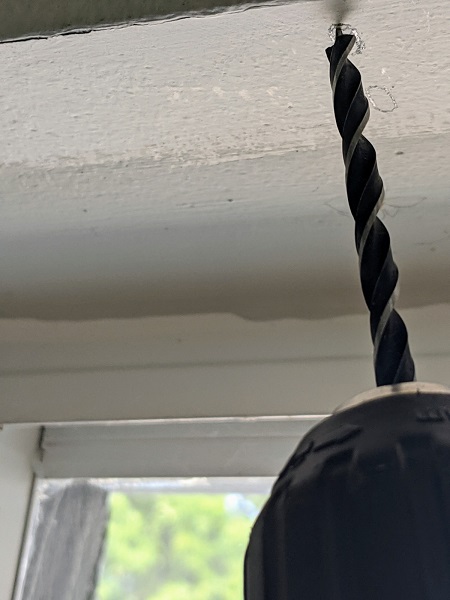
Drill holes
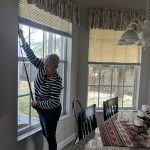
The plan was to have some help when installing them because, at 5′ tall and 66 years old, I knew that I’d need help. Unfortunately, since Mr. S had the heart issues, I don’t let him get near a ladder. Because of the pandemic, I wasn’t inviting anyone into my house for a while. So…
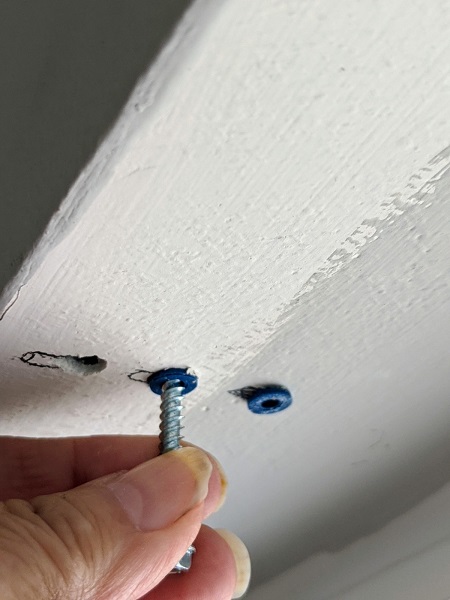
Push in anchors where the screws will go
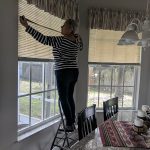
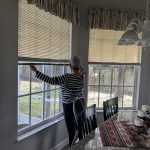
I put the first one up myself
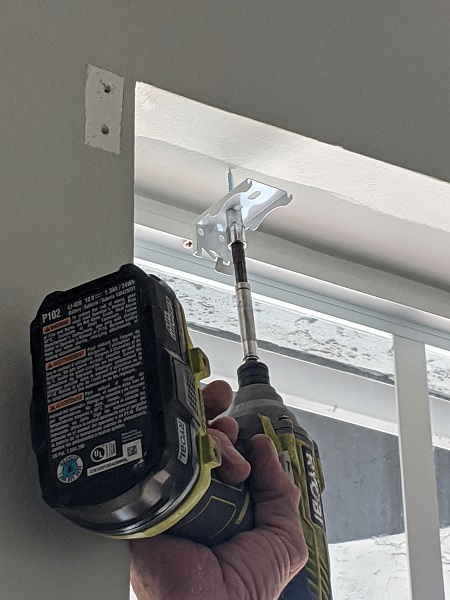
Screw the clips into the top of the window opening.
It probably took me longer than it should have. I kept dropping the screws and I’d have to go pick them up and go back up the ladder. I should have had a bunch of them in a cup or something and left what I dropped, but instead, it became the most intense aerobic workout that I’d had in years. Other than my fumbling with the screws, it was just a couple of steps.
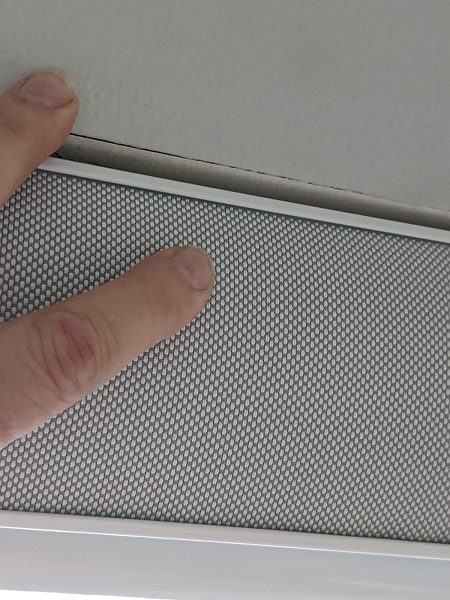
Snap the shade into the clip and VOILA!
- Mark and screw in the bracket
- Snap the shade into place
- Unwind the pull
- Screw the pull holder to the frame
- Voila – you’re done
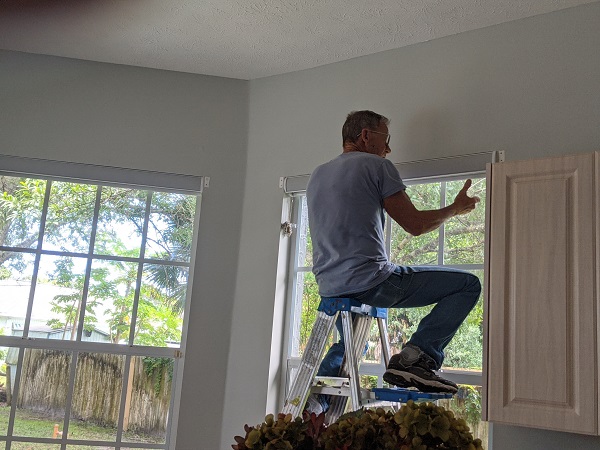
8 ft ladder – this is why I asked for help.
Because I am clumsy it took a lot longer than it should have, which is why I decided to get a friend to help me with the other three (plus, I needed a rest after my aerobic-ladder routine). He got each of them up in about 10 minutes.
- BEFORE
- AFTER
What do you think?
Thank you to everyone who helped me choose the blinds, laughed with me as I went LIVE, and especially to my friendly handyman Don who finished putting them up for me when he was here to really fix my garbage disposal. A HUGE thank you to DIY Easy Blinds for allowing me to feature them in this post.
For more information
- Check out DIY Easy Blinds and update YOUR kitchen (or bedroom, living room, etc.) with new blinds or shades.

