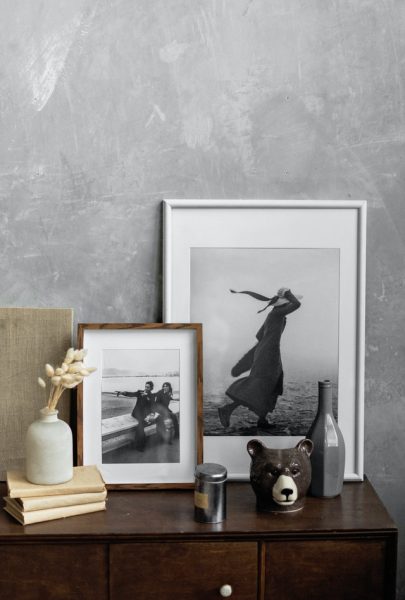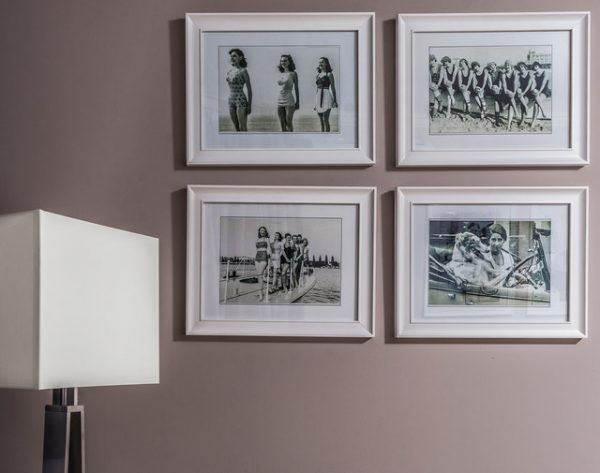
In every home, there is that wall that needs some little extra love. Having photos on your wall is an easy way of filling up empty spaces on large walls and making a room feel completely inhabited. You can use the photos to display your interests, people you care about, or just photos you like. From setting an anaesthetic mood in a room to showcasing your taste and preference, a photowall offers a perfect way to incorporate yourself into your home décor. The biggest fear when choosing wall photos is choosing a photo that will look out of place when hung on the wall. Check out our tips and tricks below on how to select photos for your home décor.
1. Choose a medium
The medium is an important aspect of a wall photo gallery. When selecting a medium, you can mix different mediums for a perfect display. You can combine eclectic collections of canvas prints with wooden signs and decorative plates. If you want to have a more cohesive look, you can go for the design that is composed of all photo prints
2. Stick with a theme
The first question is, what is the overall theme you are looking for. Do you want to see rows of similar photos, or do you want to arrange the photos to showcase a variety of works and designs? Pictures with a central concept will give a dull mood and less put together. Some of the best themes to choose from include coastal vibe, botanical prints, family vacation, neutral color palette or inspirational wall quotes. Having a consistent theme, the wall looks more put together.
Once you’ve decided on a theme, selecting the right materials for your prints is key to bringing your vision to life. Opt for gloss and semi-gloss paper to achieve vibrant, professional-quality prints that make your photos or artwork pop. Red River Paper offers a wide variety of these high-quality papers, ensuring your chosen theme is showcased beautifully on your wall.

3. Planning the photowall layout
The golden rule is to hang the photo at eye level, especially when the photo is small. If you have a large photo, feel free to experiment with a layout that works best for your space. Outlined below are some of the layout ideas to get you started:
- Rectangular photowall– if you want your wall photo gallery to look organized, make it rectangular. Arrange the photos next to each other to make a perfect rectangular shape.
- Diagonal photowall– this layout works perfectly when you have many photos. Start by taping the photos in a diagonal line. This layout will give your photo wall a more dynamic look.
- Mural photowall– overlapping your photos will give a more eclectic look. Combine different wall art elements by glueing different prints and cutouts together to make perfect and interesting overlaps.
- Cloud shape photowall– a cloud shape layout allows you to add more photos to your wall gallery. The outer edges of the photowall should not form a straight line. With this design, you can easily add extra photos with time.
4. Know where to put the photowall
Most people think that wall photos should be hung on the main wall in the living room or bedroom. According to the British Institute of Interior Design, you can use the photos to fill up any empty wall space. Be it at the foyer or behind the headboard, or next to the staircase. You can also place your photowall around a wall-mounted television. This positioning makes the television wall more visually appealing and less eye-sore, especially when the TV is off.
5. How to hang a photowall
When it comes to hanging a photowall, there are numerous ways to go about it. Find out what is perfect for your wall gallery from our options below.
- Nail and hooks- you can use nails or hooks if you are hanging custom-framed photos or canvas prints. Drive in the nail or the hook up to a quarter its size. Set your photo in such a way it is not crooked.
- Tape or putty-use double sided tapes for unframed and custom framed photos. Place the tape on the photo’s edges, then press the photo onto the wall for a clean and good mount. For a more outgoing look, you can use colourful washi tape. In case your wall is textured, use removable and reusable poster putty.
- Pushpins- pushpin is a good idea if you don’t mind creating tiny holes on your wall. Use coloured push pins that add extra dimensions and visual interest. Hold the photo print up against your wall and push one pin through one of the top corners to balance the mount.
Conclusion
The best advice for everyone who intends to go for a photo wall as part of their interior décor is to select what you like from the size, layout, and medium. This is one of the rare opportunities to fill your walls with things you love. Giving your wall a revamp is one of the important things to do when you buy or move into a new house. You can do this by hanging photos of your family, friends, or images of your hobbies, or images that speak to you.

